

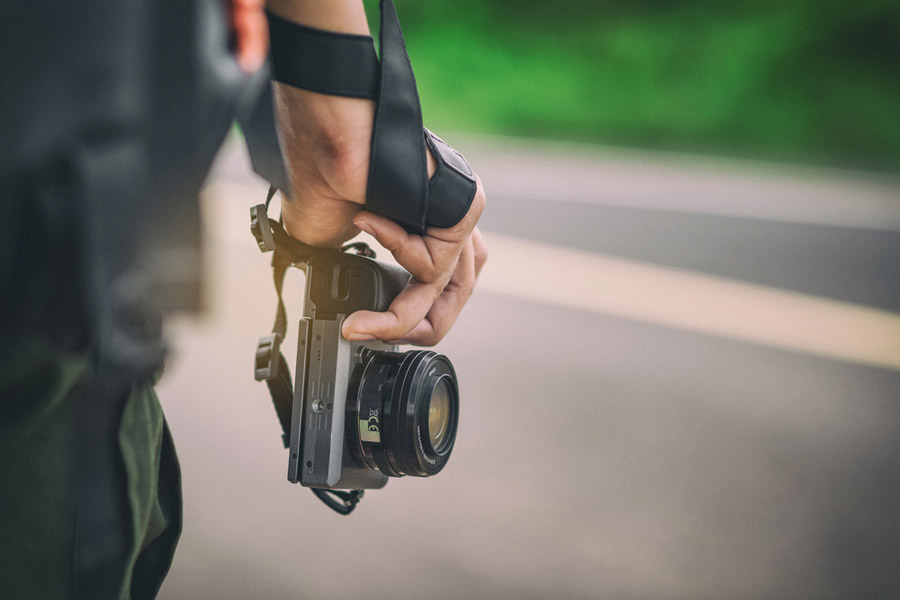
Discover The Best Camera for Street Photography, offering a perfect blend of portability, image quality, and discreet operation to capture natural, candid moments.
Choosing the best camera for Street Photography involves considering portability, discreetness, image quality, and ease of use. The ideal camera should be compact, quick to focus, and capable of capturing sharp images in various lighting conditions, ensuring you don’t miss spontaneous, candid moments.
The Best Camera for Street Photography ultimately depends on your preferences and shooting style.
Compact Cameras For the best camera for street photography
When searching for the The Best Digital Camera for Street Photography, Compact cameras like the Ricoh GR III and Fujifilm X100V are excellent for their portability and image quality.
1. Ricoh GR III
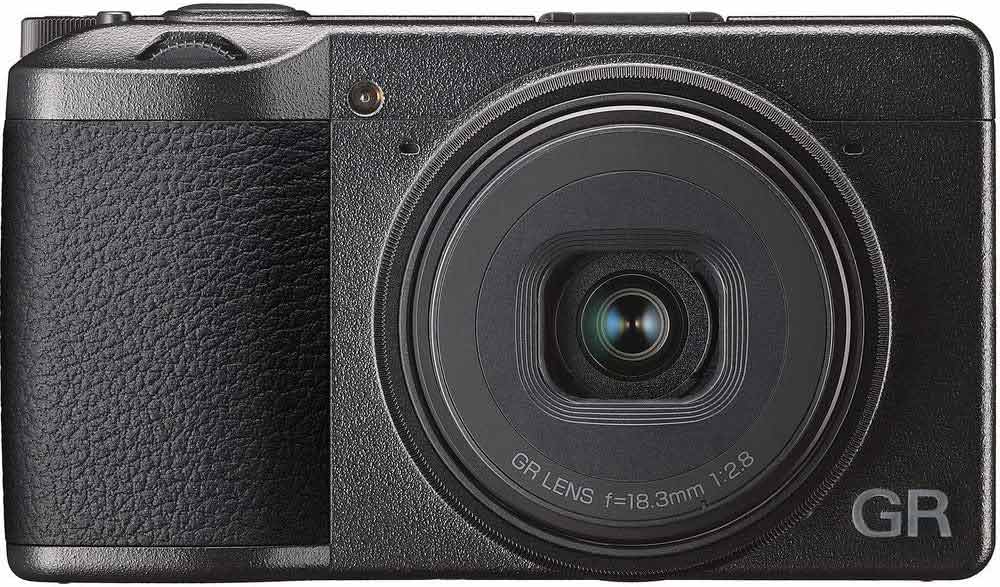
– Pros: Ultra Compact size, excellent high-resolution image quality, 24MP APS-C sensor, fast 28mm equivalent lens (f/2.8), discreet design.
– Cons: Fixed lens, limited battery life.
2. Fujifilm X100V
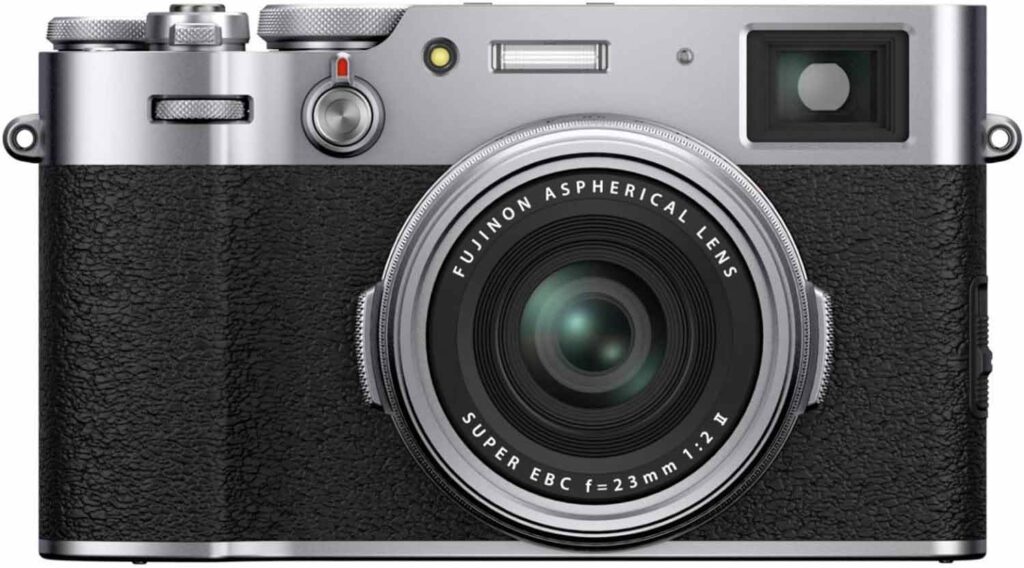
– Pros: Classic design, hybrid viewfinder, APS-C sensor, high-quality 23mm f/2 lens (35mm equivalent), weather sealing.
– Cons: Fixed lens limits flexibility, slightly larger than some compacts.
Mirrorless Camera For street photography
When it comes to choosing the best cameras for street photography, Mirrorless options like the Sony Alpha a7C and Fujifilm X-Pro3 offer a good balance of features and flexibility, while the Leica Q2 stands out for its premium build and simplicity.
1. Sony Alpha a7C
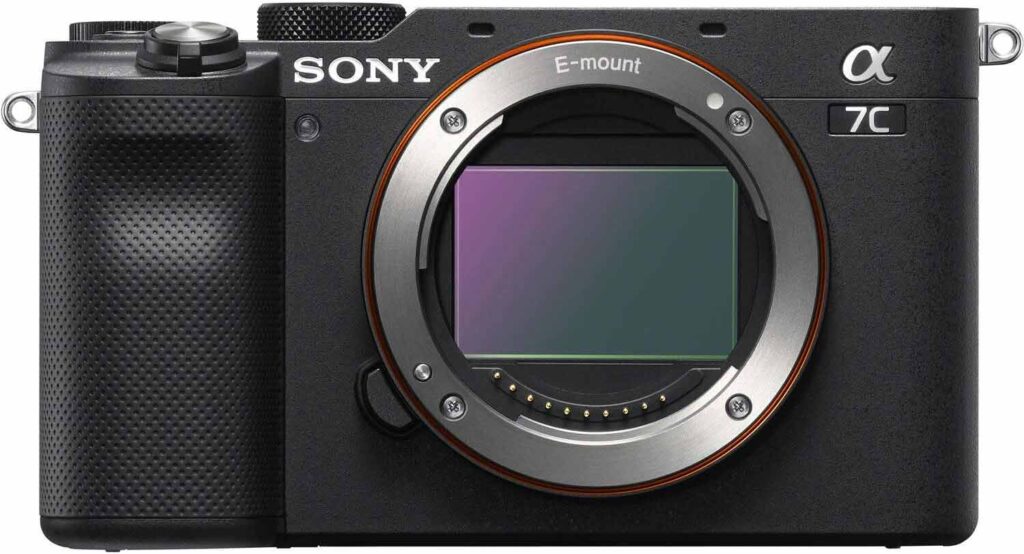
– Pros: Full-frame sensor in a compact body, excellent image quality, interchangeable lenses, good autofocus.
– Cons: Higher cost, fewer physical controls.
2. Fujifilm X-Pro3
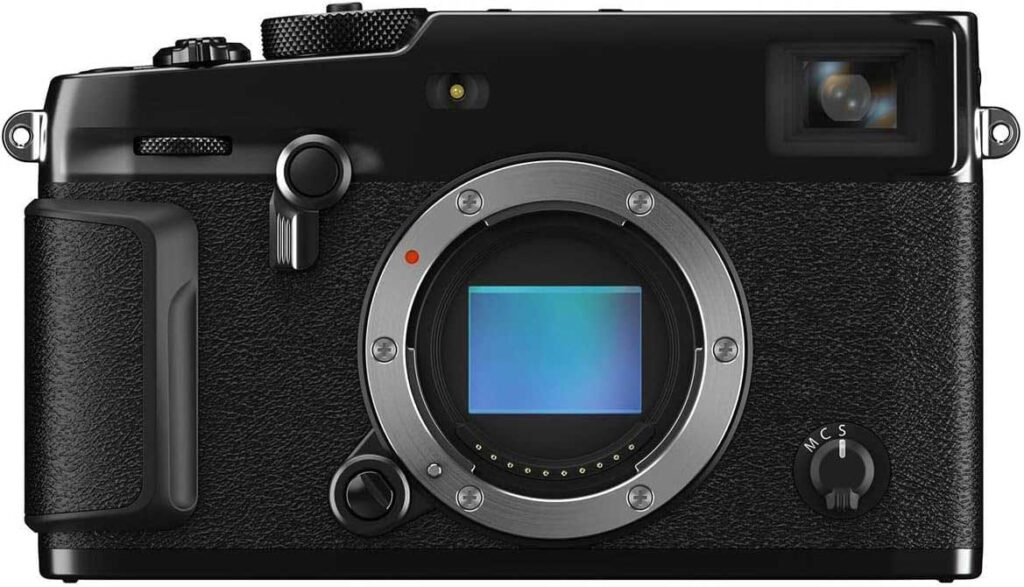
– Pros: Rangefinder-style design, APS-C sensor, hybrid optical/electronic viewfinder, robust build, great color reproduction.
– Cons: LCD screen design might not suit everyone, higher price point.
3. Leica Q2
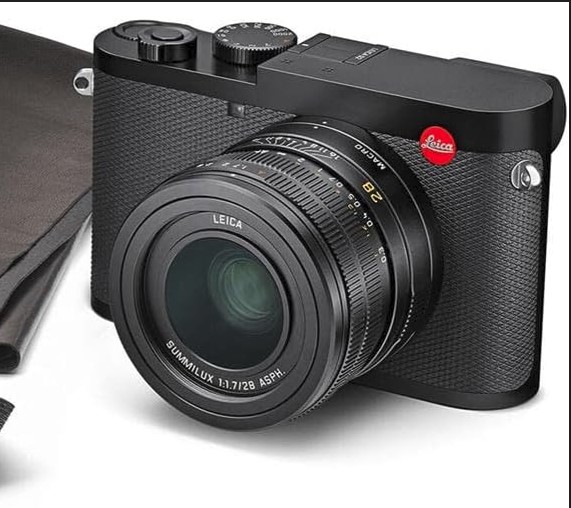
– Pros: Superb build quality, Full-frame sensor, 28mm f/1.7 fixed lens, exceptional build quality, simplicity in controls, weather sealing.
– Cons: High price, fixed lens.
4. Olympus OM-D E-M10 Mark IV
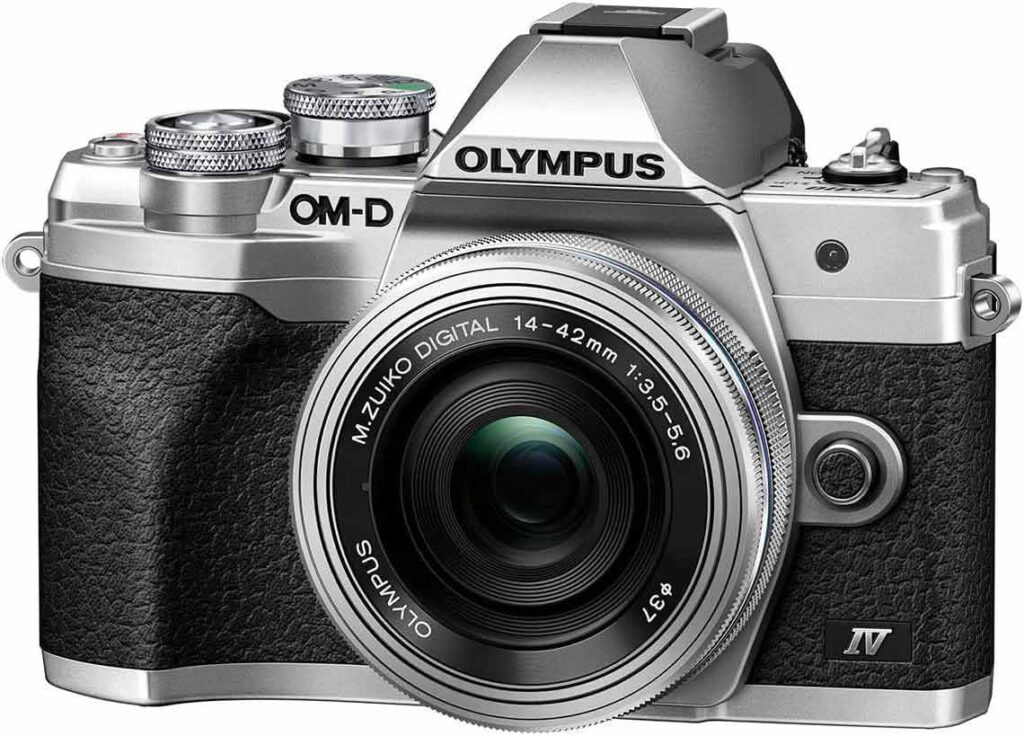
– Pros: Compact and lightweight, good image quality, in-body image stabilization, affordable.
– Cons: Smaller Micro Four Thirds sensor.
5. Nikon Z fc
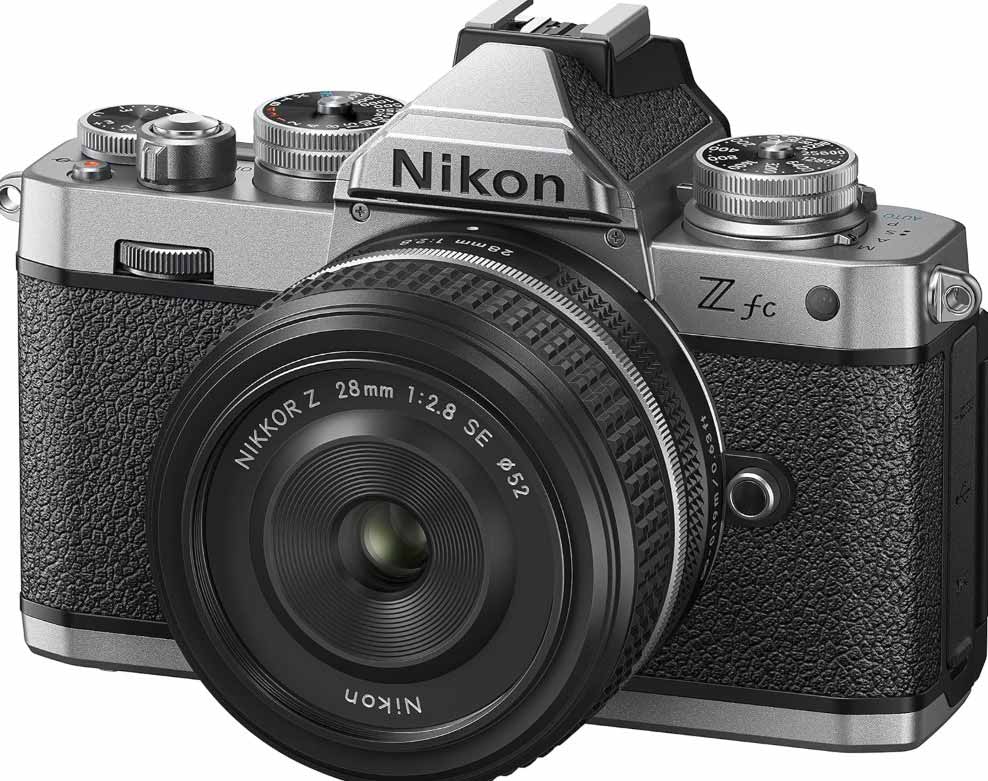
– Pros: Retro design, APS-C sensor, interchangeable lenses, good image quality, and autofocus.
– Cons: Limited native lens options compared to other brands.
DSLR Cameras For the best camera for street photography
If you prefer a DSLR, the Nikon D780 and Canon EOS 5D Mark IV are solid choices when considering the best camera for street photography..
1. Nikon D780
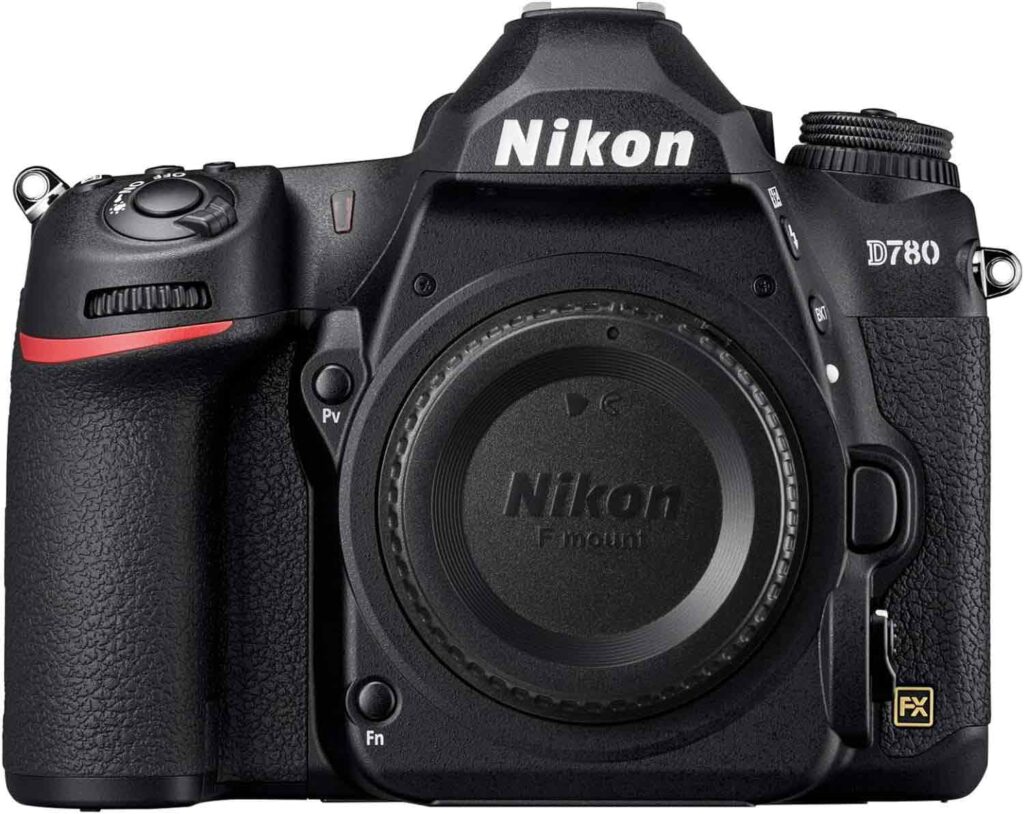
– Pros: Full-frame sensor, excellent image quality, dual live-view, and optical viewfinder modes, robust build.
– Cons: Larger and heavier than mirrorless options.
2. Canon EOS 5D Mark IV
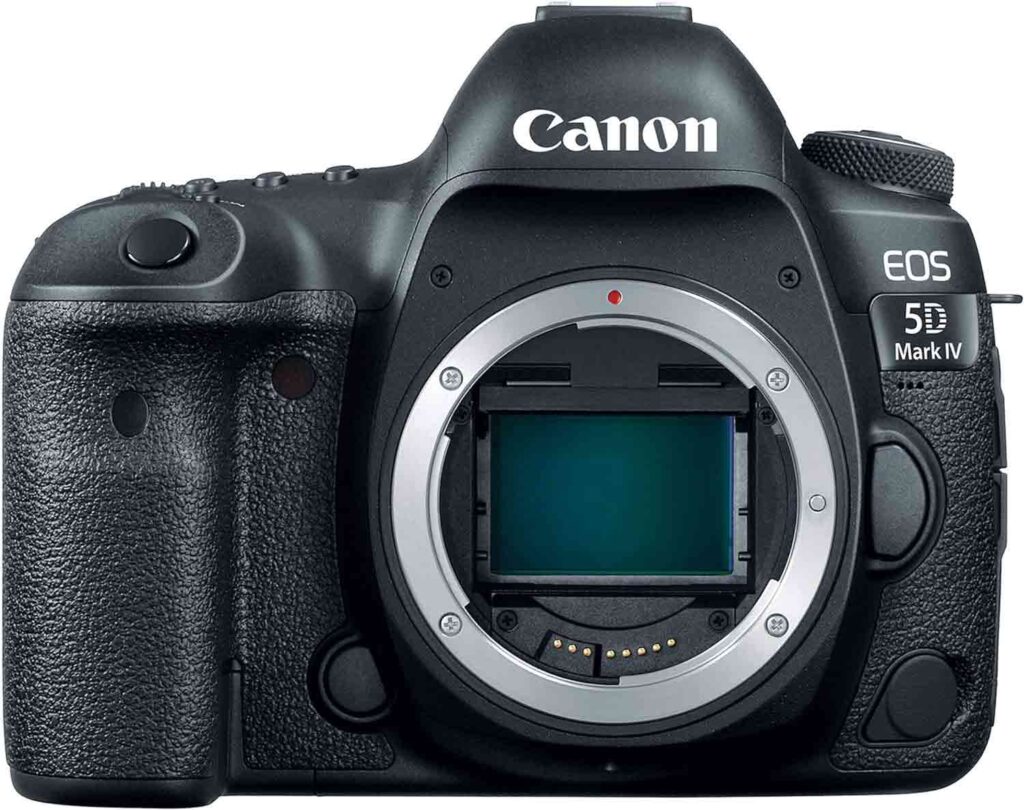
– Pros: Full-frame sensor, excellent image quality, versatile, robust, and weather-sealed body.
-Cons: Bulkier and heavier, higher price point.
Smartphones For the best camera for street photography
For those who want to use their smartphones, the iPhone 14 Pro and Google Pixel 7 Pro are top contenders for the best camera for street photography.
1. i-Phone 14 Pro
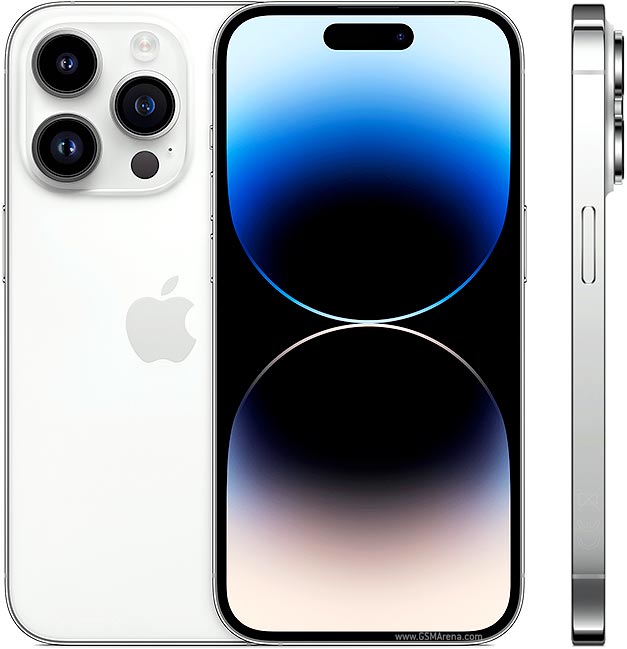
– Pros: Excellent camera quality, highly portable, computational photography features, a wide range of apps for editing and sharing.
– Cons: Limited control over settings compared to dedicated cameras.
2. Google Pixel 7 Pro

-Pros: Superb camera quality, great low-light performance, computational photography, ease of use.
– Cons: Less manual control than dedicated cameras.
These cameras offer a range of features suitable for capturing the spontaneity and essence of street photography, catering to different preferences and budgets.
Camera Settings and Techniques for Successful Street Photography:
Here are essential camera settings and techniques to master for the best camera for street photography
Camera Settings
1. Aperture Priority Mode (A or Av)
- Control Depth of Field: You set the aperture, and the camera automatically adjusts the shutter speed. A wide aperture (f/2.8-f/4) blurs the background, making the subject stand out, while a narrow aperture (f/8-f/11) keeps more of the scene in focus. Ideal for balancing background blur and sharpness.
- Exposure Balance: The camera automatically adjusts the shutter speed for proper exposure, allowing you to focus on composition.
- f/5.6 to f/8: Ensures a good depth of field, keeping subjects sharp while maintaining some background blur.
- Flexible and Efficient: Balances creative control and convenience, making it a popular choice among street photographers.
2. Manual & Auto Mode Settings
Both manual and auto settings have their place in street photography. Choosing between Manual and Auto settings, best camera for street photography depends on various factors, including your experience level, shooting conditions, and creative goals. Here’s a detailed comparison to help you decide when to use each:
Manual Mode (M)
Whether using the best camera for street photography, Manual Mode Provides full control over the aperture, shutter speed, and ISO, allowing precise exposure adjustments. Manual settings offer greater creative control and are ideal for learning and specific artistic goals.
Advantages:
- Full Creative Control: Allows you to adjust aperture, shutter speed, and ISO to achieve the exact exposure and depth of field you desire.
- Consistency: Ensures consistent settings across multiple shots, useful for maintaining a uniform look in a series.
- Learning Experience: Using manual settings helps you understand the relationship between aperture, shutter speed, and ISO, improving your overall photography skills.
Disadvantages:
- Slower Adjustments: Manually changing settings can be time-consuming, potentially causing you to miss spontaneous moments.
- Steep Learning Curve: Requires a solid understanding of exposure principles and can be challenging for beginners.
Auto Mode:
Whenever using the best camera for street photography, Auto Mode settings provide speed and convenience, perfect for capturing spontaneous moments.
Advantages:
- Speed and Convenience: Quickly adapts to changing lighting conditions and moving subjects, allowing you to capture fleeting moments effortlessly.
- Beginner-Friendly: Ideal for photographers who are still learning and want to focus on composition rather than technical details.
- Reliable Results: Modern cameras’ auto settings are highly sophisticated and often produce well-exposed images in a variety of situations.
Disadvantages:
- Less Creative Control: Limits your ability to fine-tune exposure settings, which can affect the artistic quality of your photos.
- Inconsistent Results: Auto settings may produce varying results in rapidly changing light conditions, potentially leading to less predictable outcomes.
3. Shutter Speed Priority Mode (S or Tv)
- Freeze Motion: Use a fast Shutter Speed 1/250s or faster to freeze motion and avoid blur
- Freezes motion and reduces the risk of camera shake. Increase to 1/500s or higher for faster-moving subjects.
- Control Motion Blur: You set the shutter speed, and the camera adjusts the aperture. Useful for capturing fast-moving subjects or creating motion blur effects.
- Selective Control: Allows you to prioritize capturing motion while the camera manages exposure.
- Motion Blur: Experiment with slower shutter speeds (1/30s to 1/60s) to introduce motion blur for a dynamic effect, such as capturing moving traffic or bustling crowds.
4. Auto ISO Settings
- Auto ISO is a valuable feature found in the best camera for street photography, Auto ISO Adjusts sensitivity based on lighting conditions, with a maximum limit set to avoid excessive noise (e.g., 1600-3200). It automatically adjusts ISO to maintain proper exposure, allowing quick capture of spontaneous moments.
- Combine it with aperture priority mode for creative control while ensuring optimal exposure. Auto ISO streamlines shooting, letting you focus on composition and storytelling.
- Low ISO (100-400): Ideal for bright daylight conditions, ensuring high image quality with minimal noise.
- High ISO (800-3200: Increase ISO in low-light situations to maintain faster shutter speeds, but be mindful of potential noise.
5. Focus Mode
- Continuous Autofocus (AF-C): Tracks moving subjects.
- Single-Point AF: Provides precise focus on a specific subject, useful for static scenes.
6. Metering Mode
- Evaluative/Matrix Metering: Measures light across the entire frame for balanced exposure.
- Spot Metering: Focuses on a small area, useful for high-contrast scenes.
7. White Balance
- Auto White Balance (AWB): Adapts to changing light conditions.
- Manual Presets: Adjust based on specific lighting (e.g., daylight, cloudy).
8. Drive Mode
- Continuous Shooting (Burst Mode): Captures multiple frames quickly, increasing the chance of getting the perfect shot.
- Single Shot: For more deliberate, composed shots.
9. Exposure Compensation
+/- 0.3 to 1.0 stops: Adjusts exposure to correct for overly bright or dark scenes without changing primary settings.
10. File Format
- RAW: Offers maximum flexibility in post-processing.
- JPEG: Suitable for quicker workflow and less intensive editing.
11. Hybrid Approach
The hybrid approach with Best camera for street photography in street photography refers to blending traditional photography techniques with modern digital enhancements. This can involve using both film and digital cameras, combining manual and autofocus techniques, leveraging both natural and artificial light, and balancing on-the-spot shooting with post-processing.
It’s a broad methodology that encompasses various aspects of photography, from equipment choices to shooting and editing techniques.
- Encompasses a wide range of techniques and tools in street photography.
- Involves strategic choices in gear, shooting methods, and post-processing.
- Utilized to enhance overall photography practice, blending different elements for optimal results.
Best camera for street photography Techniques
1. Shooting from the Hip
- Discreet Photography: Hold the camera at waist level and shoot without looking through the viewfinder. This technique is less intrusive and helps capture candid moments. Use a small, quiet camera to avoid drawing attention.
- Practice and Anticipation: With practice, you’ll improve your ability to frame shots accurately without looking.
2. Zone Focusing
- Pre-Focus Distance: Manually set your focus to a specific distance (e.g., 6-10 feet) and use a small aperture (f/8-f/11) to keep a larger area in focus. This technique is useful for capturing spontaneous moments without having to refocus.
- Hyperfocal Distance: Calculate and set the hyperfocal distance to maximize the depth of field, ensuring that everything from a certain point to infinity is in focus.
3. Candid Shots
Capture people in natural, unposed moments. Look for interesting expressions, interactions, and gestures.
4. Composition Techniques
- Rule of Thirds: Divide your frame into thirds and place key elements along these lines or at their intersections for balanced and engaging compositions.
- Leading Lines: Use lines (e.g., roads, buildings, railings) to guide the viewer’s eye through the image towards the subject.
- Framing: Utilize natural frames (e.g., windows, doorways) to focus attention on the subject and add context to the scene.
5. Timing (Stay Mobile and Ready)
Anticipate the moment and be ready to shoot. Observing body language and movement can help predict interesting interactions.
- Quick Access: Keep your camera easily accessible and settings optimized for quick adjustments to capture fleeting moments.
- Comfortable Gear: Use comfortable, discreet gear that you can carry for extended periods without drawing attention.
6. Light and Shadows
- Natural Light: Use natural light to your advantage. Early morning and late afternoon provide soft, flattering light.
- Play with Shadows: Use shadows creatively to add depth, contrast, and drama to your photographs.
7. Backgrounds
Pay attention to your background to avoid distractions. A clean, uncluttered background can make your subject stand out more.
8. Engage with Subjects
In some cases, engaging with your subjects can lead to more relaxed and natural expressions. A simple smile or nod can make a difference.
9. Patience and Persistence
Street photography often requires waiting for the right moment. Be patient and persistent, and don’t be afraid to revisit locations.
- Wait for the Moment: Street photography often requires patience. Find an interesting scene and wait for the perfect moment or subject to enter the frame.
- Anticipate Action: Develop an eye for anticipating action and reactions, allowing you to capture decisive moments.
10. Symmetry and Patterns
Specially when using the best camera for street Photography, Incorporating Symmetry and Patterns in Street Photography adds a layer of aesthetic appeal and can transform ordinary scenes into extraordinary images.
By being observant, experimenting with composition, and practicing regularly, you can master the use of these elements to create compelling and visually striking photographs. Here’s how you can effectively use these elements:
- Identifying Symmetrical Scenes: Look for buildings, windows, doors, and other architectural elements that exhibit symmetry.
- Reflections
- Seek out symmetrical arrangements in everyday street elements like benches, streetlights, and pathways.
- Composing Symmetrical Shots
- Centering the Subject
- Techniques for Enhancing Symmetry
- Recognizing Patterns
- Composing with Patterns
By mastering these Camera Settings and Techniques, you can enhance your ability to capture compelling and authentic street photographs, telling powerful stories through your images.
Adjusting ISO for Different Lighting Conditions
By Using Auto ISO, combine manual aperture and shutter speed with auto ISO to maintain exposure while controlling depth of field and motion blur, specially when equipped with the best camera for street photography.
ISO is a critical setting in street photography, allowing you to control the sensitivity of your camera’s sensor to light. Here’s how to adjust ISO for various lighting conditions:
A. Low Light Conditions
1. Increase ISO
Purpose: Boost ISO to maintain proper exposure in dimly lit environments.
Typical ISO Range: Start around ISO 800 and adjust as needed.
Trade-offs: Higher ISOs increase digital noise, so balance ISO with other settings for optimal image quality.
2. Use a Fast Lens
Wide Aperture: Choose a lens with a wide maximum aperture (e.g., f/1.8 or f/2.8) to gather more light.
Prime Lenses: Prime lenses are often faster than zoom lenses and can excel in low-light conditions.
3. Image Stabilization
Stabilized Lenses or Bodies: Consider lenses or camera bodies with built-in image stabilization to minimize camera shake, especially at slower shutter speeds.
B. Bright Outdoor Conditions
1. Lower ISO
Purpose: Reduce ISO to maintain image quality and minimize noise in well-lit environments.
Typical ISO Range: ISO 100-400 is often suitable for bright daylight.
Avoid Overexposure: Lower ISO helps prevent overexposure, especially with wide apertures and fast shutter speeds.
2. Use a Narrow Aperture
Depth of Field: Choose a narrower aperture (higher f-stop number) for greater depth of field and sharpness throughout the image.
Control Light: Narrow apertures help control the amount of light entering the camera, allowing for proper exposure.
3. Neutral Density Filters
Purpose: Neutral density (ND) filters reduce the amount of light entering the lens, allowing you to use wider apertures or slower shutter speeds in bright conditions.
Versatility: ND filters are particularly useful for achieving shallow depth of field in bright daylight.
C. Mixed Lighting Conditions
1. Adapt ISO as Needed
Dynamic Range: Adjust ISO to maintain detail in both shadows and highlights.
Bracketing: Consider bracketing shots at different ISOs to capture a range of exposures and blend them in post-processing.
2. Use Exposure Compensation
Fine-Tuning Exposure: Use exposure compensation to adjust brightness when lighting conditions change rapidly.
Metering Modes: Choose the appropriate metering mode (e.g., evaluative/matrix, spot) to ensure accurate exposures.
Practical Tips for ISO Settings
Whenever using the Best Camera for street photography Here are some Practical Tips for ISO Settings
1. Shoot in RAW
Flexibility: RAW files contain more data, allowing for better adjustment of exposure and noise reduction in post-processing.
Recovery: RAW files offer greater latitude for recovering details in highlights and shadows.
2. Test and Experiment
Practice: Experiment with different ISO settings in various lighting conditions to understand their effects on image quality.
Review Images: Review your images on the camera’s LCD screen to assess exposure and adjust settings accordingly.
3. Consider the Mood
Creative Choices: Higher ISOs can add grain and atmosphere to your images, enhancing the mood of the scene.
Intentional Grain: Embrace the grain as a stylistic choice, especially in black and white street photography.
Adjusting ISO for different lighting conditions is crucial in street photography to maintain proper exposure and image quality. Understanding how ISO interacts with aperture and shutter speed allows you to adapt to changing environments effectively. specially when include with the best camera for street photography
With practice and experimentation, you’ll develop the skills to adjust ISO confidently and capture compelling street photographs in any lighting situation.
Practical Tips for Street Photography
When using the Best Cameras for Street photography Here are some Practical Tips for optimizing camera settings in street photography:
Know Your Gear: Familiarize yourself with both manual and auto settings on your camera. Practice switching between modes to become adept at using both.
The best times for street photography: The best times for street photography are during the golden hours—shortly after sunrise and before sunset—when natural light is soft and shadows are long. Blue hour, just before sunrise and after sunset, offers a unique atmosphere.
Customize Auto Settings: Use exposure compensation, auto ISO, and other customizable settings to gain more control while in auto modes.
Practice Zone Focusing: In manual mode, use zone focusing to pre-set your focus distance, enabling faster shooting in dynamic environments.
Working in Different Weather Conditions: Adapting to different weather conditions in street photography requires preparation: protect your gear with rain covers, use a lens hood in bright sunlight, and adjust settings for low light or overcast skies.
Stay Safe: In street photography, staying safe on the streets involves being aware of your surroundings, keeping a low profile, and safeguarding your gear. Avoid risky areas, especially alone. Trust your instincts, carry minimal equipment, and use discreet camera bags.
Finding Unique Perspectives: Finding unique perspectives in street photography involves experimenting with angles, compositions, and subjects to capture fresh, compelling images.
Continuous Learning and Practice: Regularly explore new techniques, study the work of renowned photographers, and seek feedback. Practice consistently to hone your skills, experiment with different styles, and adapt to various conditions.
Engaging with Subjects: Engaging with subjects in street photography can lead to more authentic and impactful images. Here are some techniques and tips for effectively interacting with people while capturing candid moments:
- Smile and Be Approachable
- Non-verbal Communication
- Ask for Permission
- Show Interest and Respect
- Explain Your Purpose
- Blend In
- Be Ready to Share
- Respect Privacy
Frequently Asked Questions on Best Camera for Street Photography
What features should I look for in a Best Camera for street photography?
Look for portability, fast autofocus, good low-light performance, and a discreet design. Compact size and quiet operation are essential to blend in and capture candid moments without drawing attention.
Are mirrorless cameras better than DSLRs for street photography?
Mirrorless cameras are often preferred for street photography due to their compact size, lighter weight, and faster autofocus. They offer similar image quality to DSLRs but are generally more portable and less conspicuous.
Is a fixed lens or zoom lens better for street photography?
A fixed (prime) lens, like a 35mm or 50mm, is popular for street photography due to its sharpness and simplicity. However, a zoom lens offers versatility in framing shots from different distances, though it might be bulkier.
What is the ideal focal length for street photography?
Common focal lengths are 35mm and 50mm, as they closely mimic human vision and are versatile for various compositions. Wider angles like 28mm are also popular for capturing broader scenes.
Should I prioritize a camera with high megapixels?
While high megapixels can provide more detail, they are not the most crucial factor. Focus on overall image quality, dynamic range, and how the camera performs in low light, which are more relevant for street photography.
Is weather sealing important for street photography?
Weather sealing is beneficial if you plan to shoot in various weather conditions. It protects your camera from dust, moisture, and light rain, allowing you to shoot more freely outdoors.
How important is battery life in street photography?
Battery life is important, especially for long shooting sessions. Mirrorless cameras generally have shorter battery life than DSLRs, so consider carrying extra batteries.
What are some recommended best camera for street photography?
Fujifilm X100V: Compact, great image quality, fixed 23mm lens.
Ricoh GR III: Ultra-compact, excellent image quality, 28mm lens.
Sony Alpha a7C: Full-frame sensor, compact body, interchangeable lenses.
Leica Q2: Full-frame, 28mm lens, superb build quality.
Canon EOS R6: Full-frame, versatile with interchangeable lenses.
How much should I spend on a best camera for street photography?
It depends on your budget and needs. Quality street photography cameras range from $600 to $3000. Camera Price Keeps Changing in Years. Consider what features are essential for you and balance cost with performance and portability.
Are smartphones good for street photography?
High-end smartphones can be excellent for street photography due to their portability and increasingly advanced cameras. They are great for spontaneous shots and situations where discretion is key. However, they may lack the depth and quality of dedicated cameras.
Conclusion
Street Photography is a rewarding genre that requires a mix of technical skill, creativity, and an eye for storytelling. By mastering your camera settings on the best camera for street photography, honing your observational skills, and respecting the people and places you photograph, you can create compelling images that capture the essence of urban life.
Whether you’re a beginner or an experienced photographer, the streets offer endless opportunities for discovery and artistic expression.
